

Connect User Guide
Purpose of Guide: This user guide is to assist Primavera clients with utilizing the Connect App by providing navigation and insights into the app.
If you have additional questions please contact our support team at (888) 667-2219 or support@primavera.care
If you need username and password assistance email jen.abrams@primavera.care
Table of Contents:
Part 1: Accessing Connect App
Part 2: App Features
Part 3: Practice Monitoring
- Dashboard
- Patient Monitoring
- Communication Center
- How to Start Telehealth Session
- Steps to Send SMS
- Programs
Part 4: Patients
Part 5: Workflow
Part 7: Data Tool
Part 8: Tasks
Part 1: Accessing Connect App
-
Login page - Enter your Email Address and Password and click continue to login
If you need username and password assistance email jen.abrams@primavera.care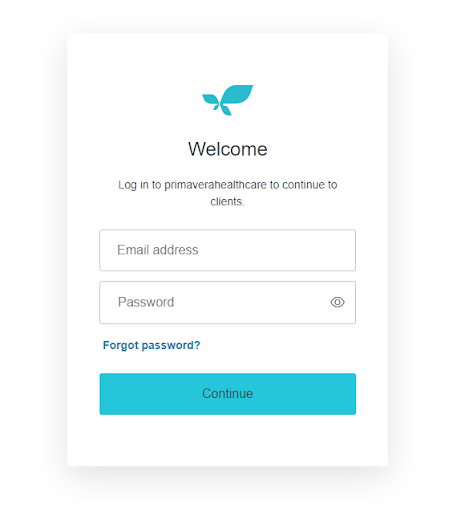
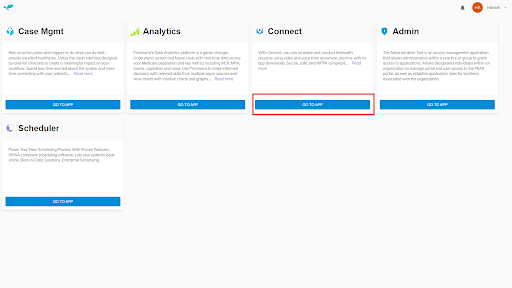
- Navigate to the Connect App and click GO TO APP button
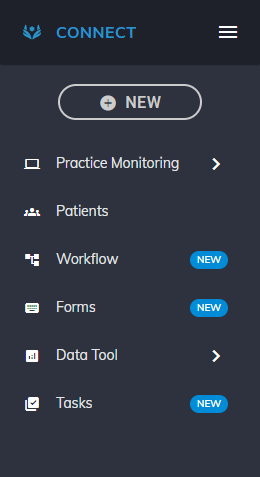
- The Navigation Menu is located on the left side of the App
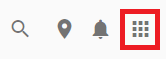
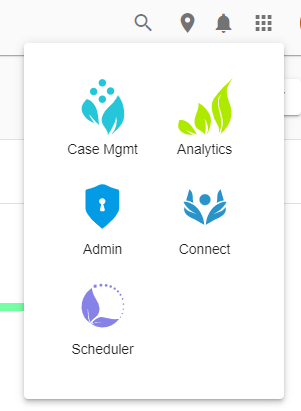
- The ability to Toggle between Apps is located on the top right corner, you may click on the dots icon
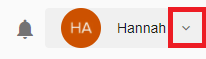
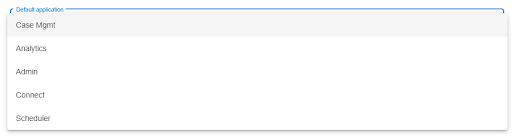
- Option to select default app. Selecting a default app will automatically open your selected default app when you login. Select a default app by:
Step 1:
Click on arrow next to your name:
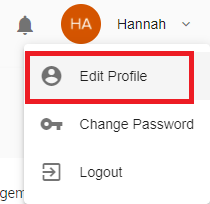
Step 2:
Select Edit Profile:
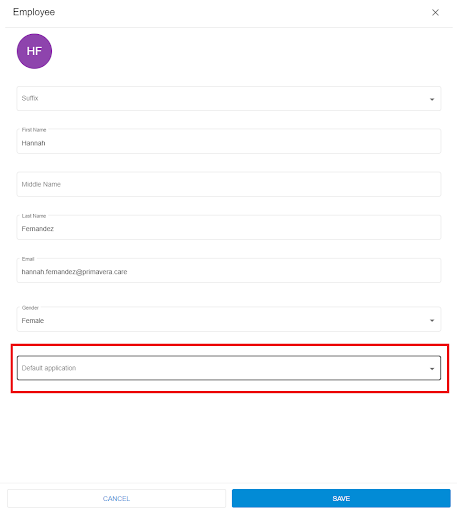
Step 3:
Under Default Application, select the corresponding app.
Step 4:
Click the Save button:

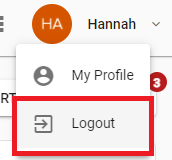
Logout by clicking on the downward error next to your username. Then click Logout.
Part 2: App Features
Add a Patient, Telehealth or SMS
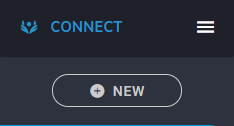
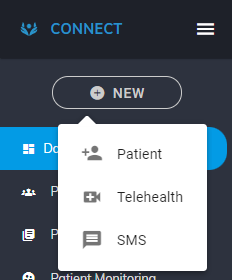
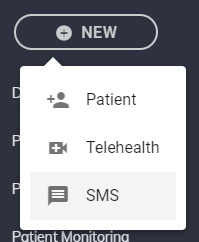
Throughout the app you can add a New Patient, Telehealth or SMS by clicking on the New button located on the main menu. Steps on how to add a New Patient, Telehealth or SMS are included later in this user guide.
Filters
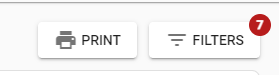
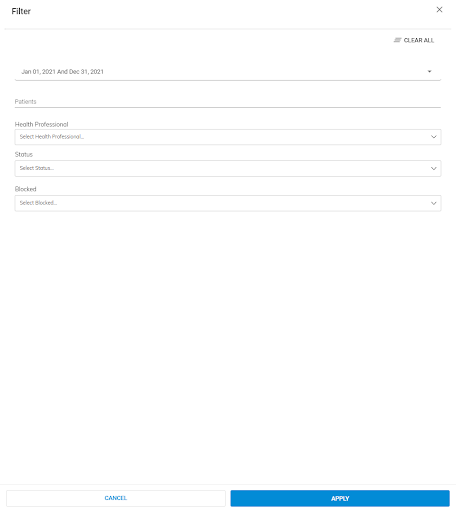
A user has the ability to filter and customize each dashboard or report. Note each dashboard or report has unique filters that apply to that specific data set. The filter button can be found on the upper right corner of the report or dashboard a user is viewing.
Note: the number in red indicates the number of filters already applied (as shown in this example)
The image below shows example filters which can be applied in the Connect App:
Export
Some reports within the Connect app will allow you to Export that specific report. The option to export is located on the upper right hand corner of the reports.
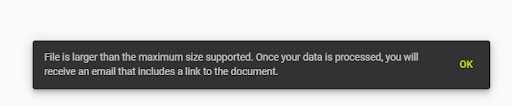
Note if the file is large while exporting the selected report or dashboard, you will receive the notification below on the bottom of your screen. This notification means the export will be emailed to you within minutes versus instantly downloading to your computer.
Part 3: Practice Monitoring
Please acknowledge that the Practice Monitoring tool will only be available for users that are subscribed to utilize Connect Telehealth.
Dashboard
Description: Overview of Telehealth or SMS activity with patients.
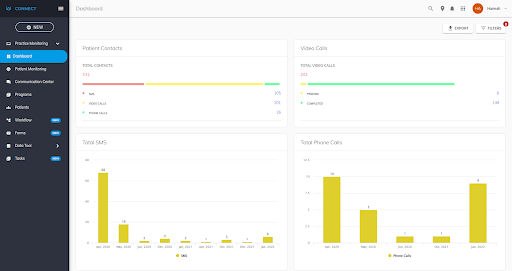
Features:
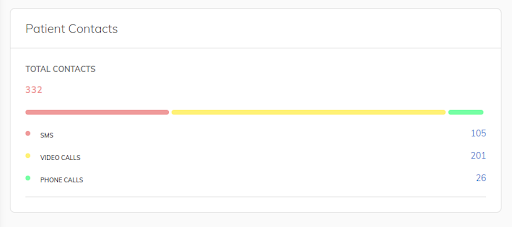
- View total Patient Contacts including number of SMS, Video Calls and Phone Calls with patients:
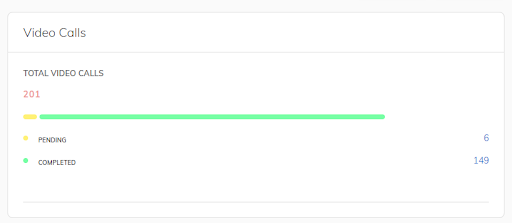
- View Total Video Calls by Pending versus Complete status:
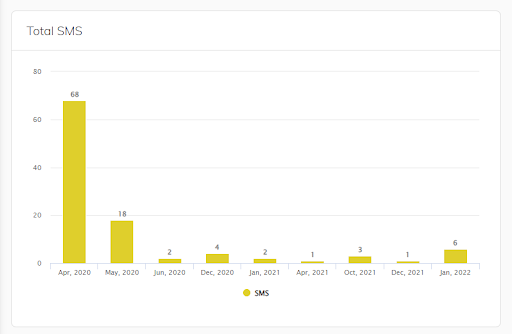
- View Total SMS sent monthly for the time period selected
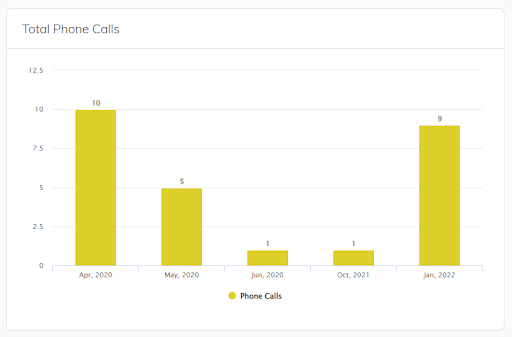
- View Total Phone Calls for period selected
Patient Monitoring
View and sort patients by priority or program and option to select action.
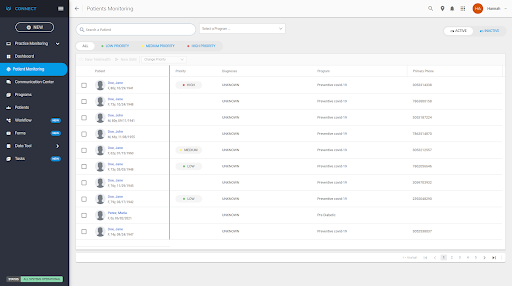
Features:
- Ability to Search for a specific patient name:

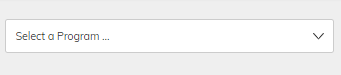
- Sort patients by Program
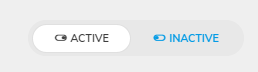
- Sort Active versus Inactive patients
- Sort patients by All, Low Priority, Medium Priority or High Priority

- Select a patient by checking the box next to patients name:
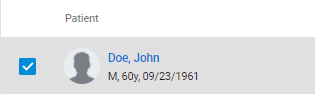
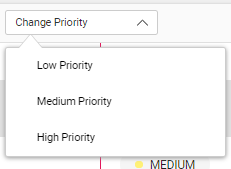
- Once a patient selected, option to start New Telehealth, send New SMS or Change Priority to Low, Medium or High.

Communication Center
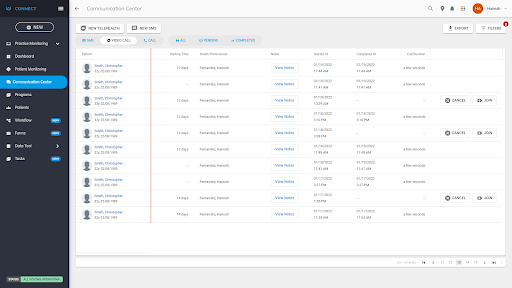
List of SMS, Telehealth or Call activity with patients.
Details show Patient Name, Waiting Time, Health Professional, Notes, Started At, Completed At, Call Duration or the option to Cancel or Join scheduled Telehealth
Features:
- Sort by SMS, Video Call or Call activity with patients

- Sort All, Pending or Completed activity with patients

Steps to Start Telehealth:
-
- Click on New Telehealth button on Communication Center page:
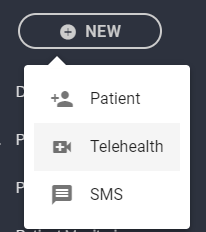
- -Or- Click on the New Telehealth button on the main menu
- Start Telehealth details will populate. Details of telehealth include Search Patient, Invitation Message, Option to Add Participant or Encounter Notes, Survey and Encounter Type. Note: Option to add Email for patient to receive invite to instead of text message invite. In this case, the patient can join the telehealth session through their computer.
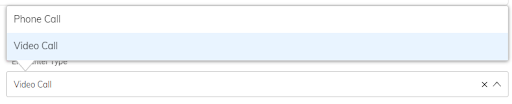
- Encounter Type is either a Phone Call or Video Call
- When your ready to start the telehealth session, click the Start button
-
Once you have started the telehealth session, the Telehealth session will populate. You have the option to document Notes during session on left hand side of screen and if the session is a video call you will have screen available
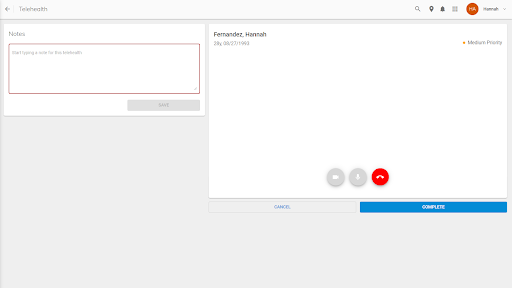
Note: Once a user starts a telehealth session, the patient will receive a text message to join the telehealth session. There is nothing a patient needs to download beforehand on their cell phone.
- Once telehealth session complete, click the Complete button
- Click on New Telehealth button on Communication Center page:
Note: once the telehealth session is complete, details of the session will then show on the Communication Center.
Steps to Send SMS
- Click on New SMS button on Communication Center page
-
-Or-
Click on the New SMS button on the main menu
-
Once the New SMS button is clicked, the SMS details screen will populate.
Options to search and select patients to send SMS message to include Patient Name, Gender, Program, Location, Payor, Insurance Provider, Primary Provider, Diagnoses or Surveys
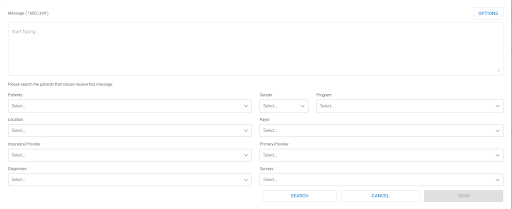
- Once patient search criteria entered, click the Search button located in bottom right corner.
- Option to attach Survey to SMS message

Message is complete and patients are selected, click the Send button
Patient will instantly receive an SMS message. Note once the SMS message is sent, details of the session will then show on the Communication Center.
Programs
Tool to allow a user to group patients into specific programs together.
Details include title of program, description, screenings, start date, end date and number of enrollments.
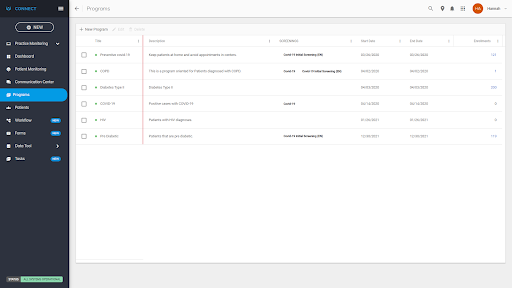
Features:
- Select a program by checking box next to program title
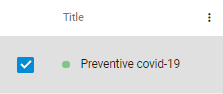
- Once program is selected, user has the option to Edit or Delete Program
Steps to Add New Program:
-
- Click the New Program button on upper left corner.
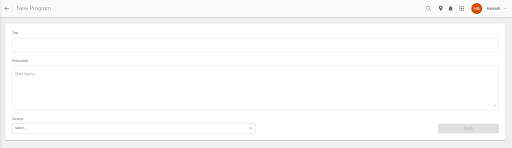
- New Program details screen will populate, allowing a user to enter the New Programs Title, Description or attach any Surveys:
- Once program details are complete, click the Save button
- Note New Program will then show on Programs page
- If you want to enroll patients into the program, select the New Program and click the Edit button

- Program details will populate with options to search for specific patients to enroll in the program. Option to enroll patients by searching by patient name, location, insurance provider, diagnoses, LOB, payer, primary provider, primary language or status
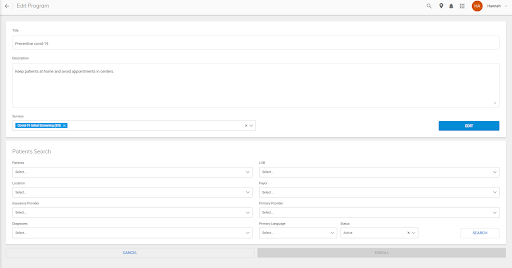
- Click the Search button to find patients that apply.
- Once patients are selected to add to program, click the Enroll button:
 Note: Once patients are enrolled in program, the number of patient enrolled will be updated under Enrollments.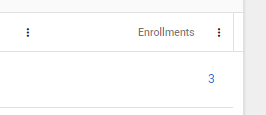
- Click the New Program button on upper left corner.
Part 4: Patients
Manage existing or new patients here. Details shown include patient status, name, date of birth, primary phone number, address, location and insurance.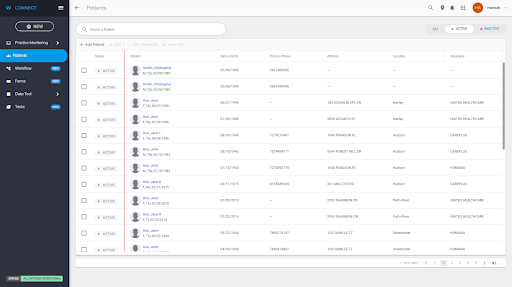
Features:
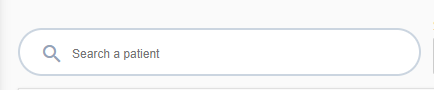
- Ability to Search for a specific patient name and drill down to there patient chart:
- Ability to sort patient view by All, Active or Inactive patients:
- Select a patient by checking the box next to patients name:

- Once a patient is selected, you can Edit, Start a New Telehealth or send a New SMS:

Steps to Add a New Patient:
-
- Click on the Add Patient button under Patient page:
(OR)
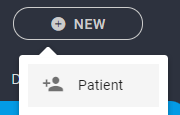
Click "New Patient" on Main Menu
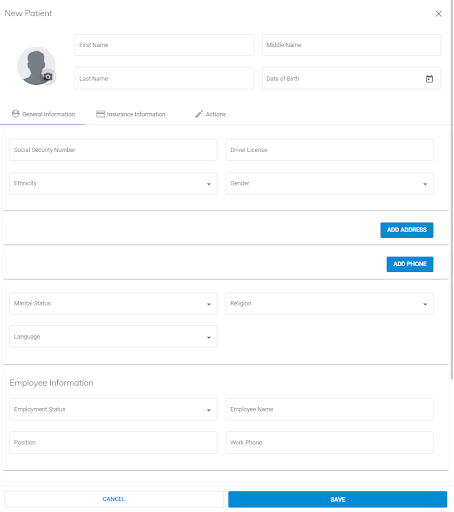
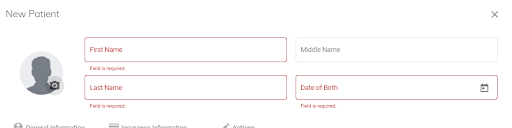
- New Patient Chart will appear on right hand of screen:
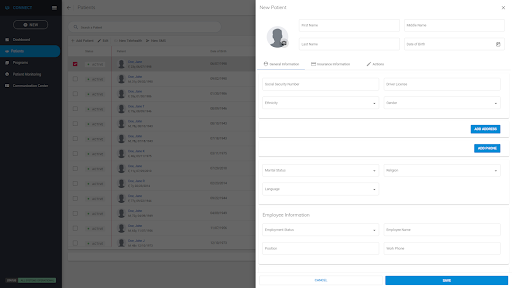
- Fill in the new patients general information
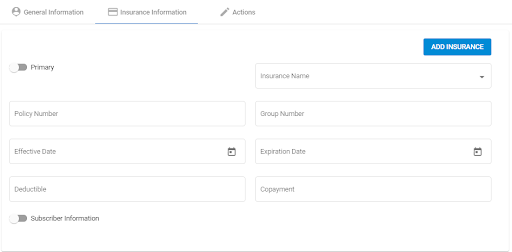
- Click on Insurance Information button then click on the Add Insurance button to add new patient's insurance information:

- Option to click on Actions button that will allow user to mark patient as inactive or select a deceased date.

- Click the Save button on bottom right hand corner to save new patient record
Note required patient fields are marked in red
- Click on the Add Patient button under Patient page:
Part 5: Workflow
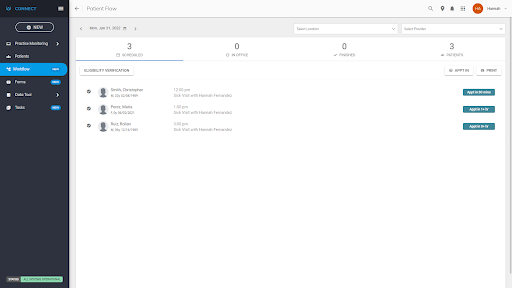
Tool to track progress of patients in office, from scheduled patient appointments in Scheduler app. Track from patient as Scheduled, In Office and Finished.
Features:
Step 1:
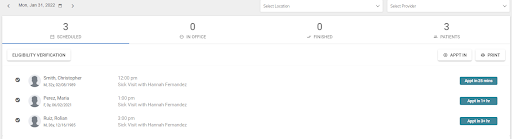
View Scheduled Appointment for Day, Track Check-In patients and Completed patient appointments:
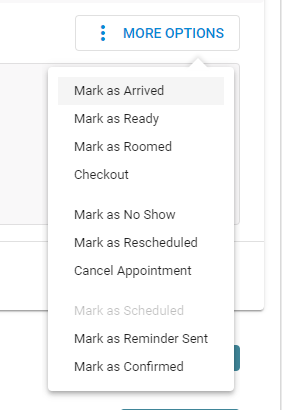
Option to mark patient as Arrived, Ready, Roomed, Checked Out, No Show, Rescheduled, Cancel Appointment, Reminder Sent and Confirmed.
Step 2:
Option to run Eligibility Check for patient with scheduled visits by clicking Eligibility Verification button: 
Step 3:
Add a new appointment without navigating to the Scheduler App by clicking on the Appt In button:
Step 4:
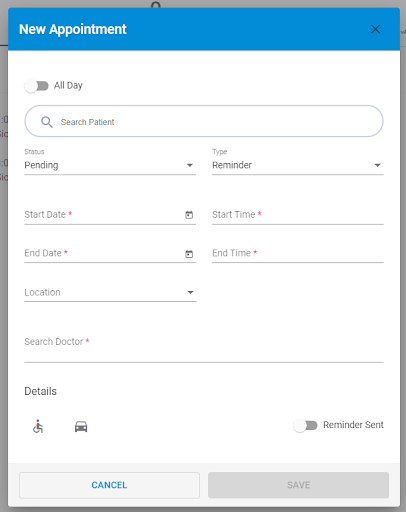
Search for patient name, select status, type, start date, end date, start time, end time, location, doctor, if patient needs wheelchair, if patient needs transportation and option
to set reminder.
Step 5:
Option to Connect with a Patient via Telehealth Video, Phone Call or Text message. Once the user selects Connect With Patient button, platform navigates to patient chart where telehealth options are listed on top of patient chart.
Step 6:
Filter patient appointments by Location and or Provider: 
Step 7:
Option to Print Schedule:
Part 6: Forms
If your clinic or practice has available forms to complete, this is where you will have access.
Note: Drill down to available forms by clicking on the blue hyperlinked title.
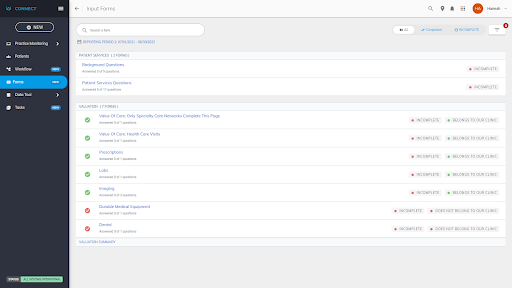
Note: You have the flexibility to complete and update these forms as frequently as your clinic would like. Your clinic still has the option to complete at the end of the reporting period also.
Steps to Complete Form or Report:
Step1:
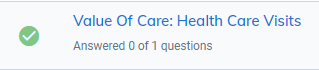
Click on the specific form you are ready to complete by clicking on the hyperlinked title of the form.
Step 2:
Click the Complete button once form questions are answered
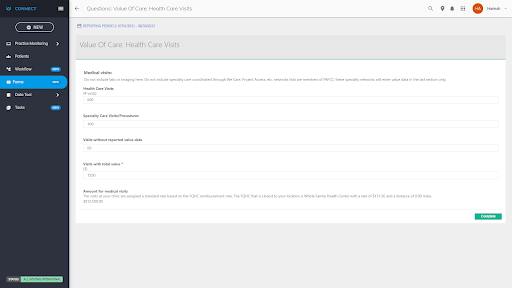
*Once a Patient Services or Valuation form is complete, it will be indicated on the Input Forms page by showing Complete

If a form doesn't belong to your clinic due to not needing to complete the specific form, click on the green circle. This turns the circle red, also indicating the form doesn't belong to the clinic. If you have questions regarding which forms your clinic needs to complete, please contact FAFCC directly.
 View
View
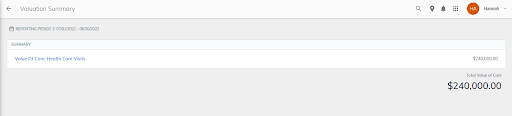
Your Valuation Summary by clicking on the Valuation Summary hyperlink button at the bottom of the Forms page.
 Note:
Note:
Valuation Summary - As your clinic completes your patient services and valuation report, your valuation summary will complete and update itself.
Note: When you Complete or Update a patient services or valuation form, the answers sync to the report data tool at 12 AM each day. If you want to sync your completed or updated form answers immediately to generate a report, please follow the below steps.
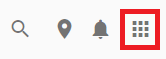
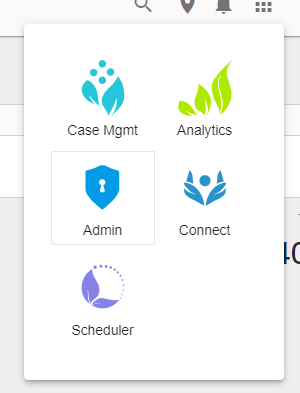
Step 1: Toggle to the Admin App by navigating to the app menu located in upper right hand corner, then clicking on the Admin button:
Step 2: Select the System Jobs button on from menu on left hand side:
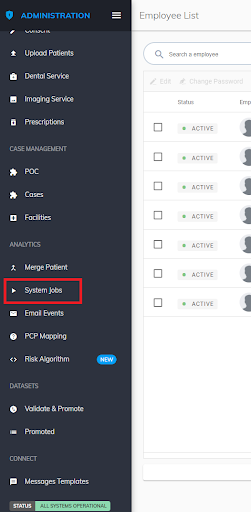
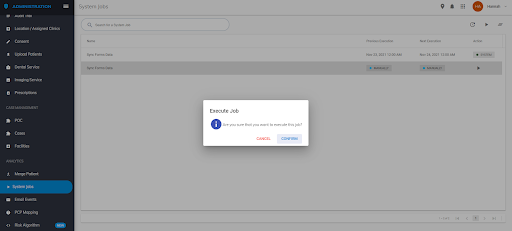
Step 3: Under Sync Forms Data, Manual option click on the arrow under Action:

Step 4: Confirm to Execute Job
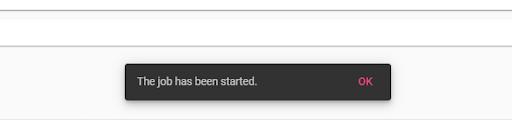
A notification will show on the bottom of the screen, showing the job has been started. This means your updated patient services and valuation forms data will sink within a few minutes for you to generate a report with the most updated data that you have entered.
Part 7: Data Tool
Dashboards
Generate visual dashboards under this tool using the reports you have created through the Reports tool.
Dashboard Features:
- Search for an existing Dashboard by Name

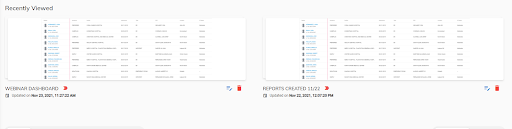
- View Recently Viewed Dashboards
3. List of all Dashboards Created
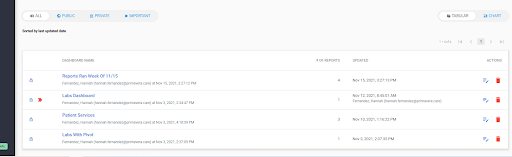
How to Create a New Dashboard
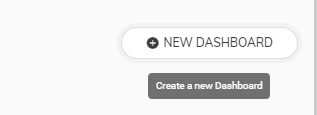
Step 1:
Click on New Dashboard button
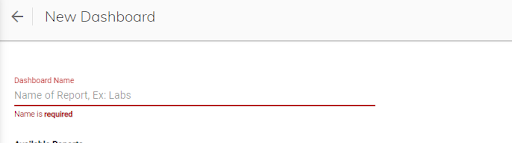
Step 2:
Type Name of New Dashboard
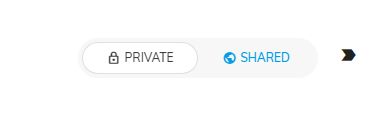
Note: Option to make Dashboard Private, Shared or marked as Important.
Step 3:
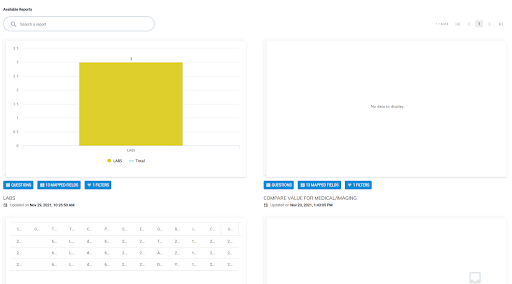
Search by report name or scroll through all created reports. Select by clicking on the reports you want to be included in the dashboard.
Step 4:
Once all reports have been selected for the dashboard, click on Save.
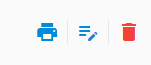
Note: New dashboard is visible with the option to Print, Edit or Delete.
Reports
Generate reports based upon completed forms or reports completed under the Forms tool in the Connect App.
Features:
- Ability to Search by Report Name
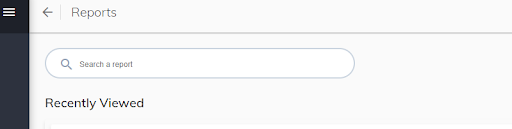
- View Recently Viewed Reports
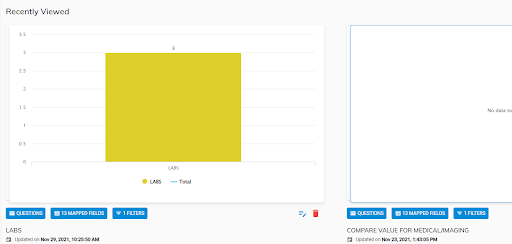
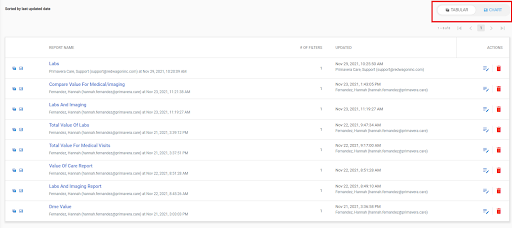
- Tabular or Chart view of previously created reports
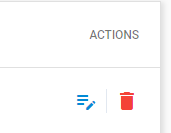
4. Ability to Edit or Delete an existing report but under Actions by clicking on the edit button or trash can.
Steps to Generate a New Report
Step 1:
Click on the button New Report
Step 2:
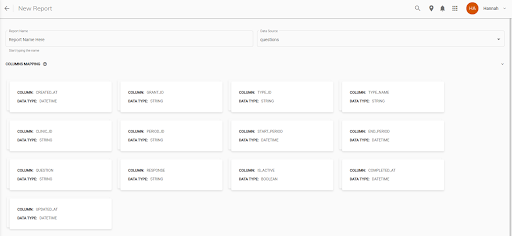
Enter Report Name and select the Data Source "Questions". Option to rename the report after Saving but editing report.

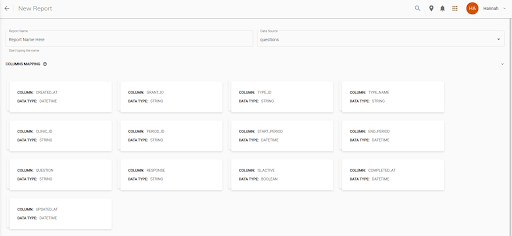
Note: Columns Mapping will appear. This is a reference key for you as you create reports.
Step 3:
Report Filter - Choose specific filters you want to drill down the report data to.
- Check the box next to Filter with numeric values. This would apply if you want to enter and filter by a specific numeric value. For example, you want to filter all values over 10,000
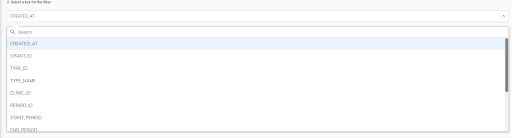
- Next, select a key for the filter:
-
- Created_At - Filter when the form was created.
- Grant_ID - Filter to a specific clinic Grant ID.
- Type_ID - Filter by additional grouping.
- Type_Name - Filter to specific patient services or valuation form.
- Clinic_ID - Filter to specific clinic ID.
- Period_ID - Filter to specific period ID.
- Start_Period - Filter to specific start period.
- End_Period - Filter to specific end period.
- Question - Filter to specific question from completed patient service or valuation forms.
- Response - Filter to a specific response from completed patient service or valuation forms
- Is_Active - Filter to patient services or valuation forms that are active.
- Completed_At - Filter to a specific date the form was completed on.
- Updated_At - Filter to a specific date the form was updated on.
Select a condition for the filter: Is Equal, Is Greater Than or Equal or Is Less than or Equal
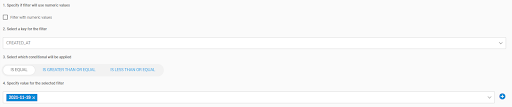
Select a value for the filter. Note the values available will depend on the key filter selected previously.
Add filter by clicking on the blue plus button
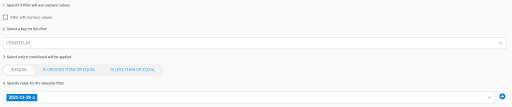
Note: You can add multiple filters to report
- Report Filter Key will show any filters that have been added (option to delete filter as well by clicking on trash can)

Step 4: Optional - If you want to add a Pivot Graph to the report, check the box next to Pivot Graph.

Select the Row - Value that will show on the X Axis of the graph

Row Format Required for DATETIME Rows
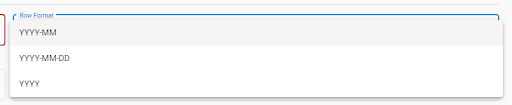
Select Dimension - Value that will show on the Y Axis of the graph

Dimension Format Required for DATETIME Rows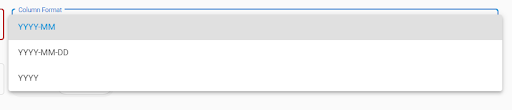
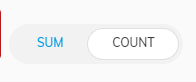
Select Field - How you want to Represent the Dimension Selected

Select between Sum or Count.
Note: Options for Row, Dimension and Field are the same options as the key filter listed above.
Step 5: Click the Save button to save and generate the report.
Part 8: Tasks
Tool to create a task related to a patient and healthcare provider.
Features:
- Search for task name:

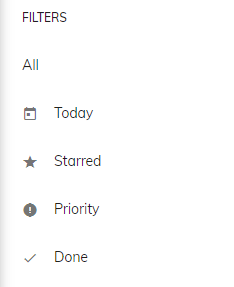
- Filter by All, Today, Starred, Priority or Done Task:
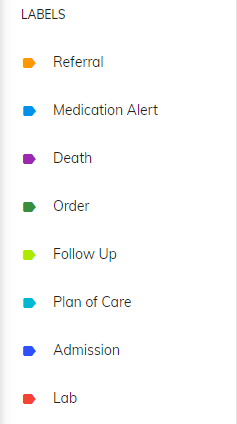
3. Sort Tasks by Label that has been assigned to task:
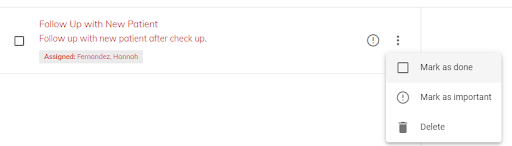
4. Option to manage existing tasks by Marking Important, Done or Deleting.
Steps to Add a New Task
Step 1:
Click on the Add Task button:
Step 2:
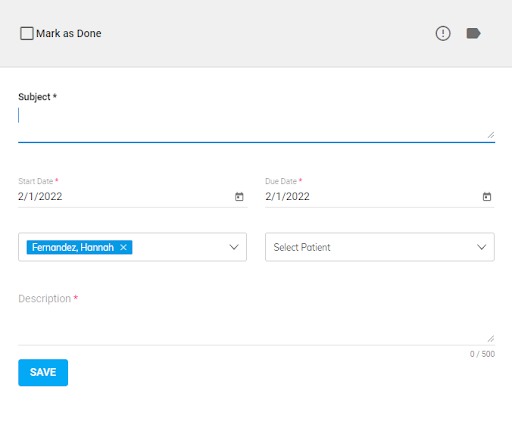
Complete task details including Subject of task, Start and Due Date, Who is assigned to task, description and option to add patient to task:
Step 3:
Option to mark task as Important or apply Label to task: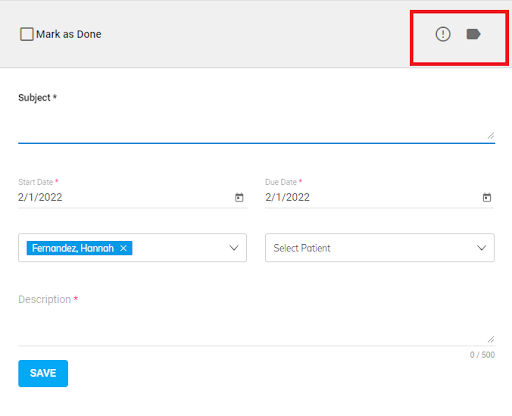
Step 4:
Once task details complete, click the Save button.
Note: The employee that task is assigned to will receive an email notification that they have been assigned to the task.
If you have additional questions please contact our support team at 888-555-5555 or support@primavera.care.

Comments
0 comments
Please sign in to leave a comment.